Jak odmienić pomieszczenie w kilka godzin? Tapetowanie – DIY czyli zrób to sam
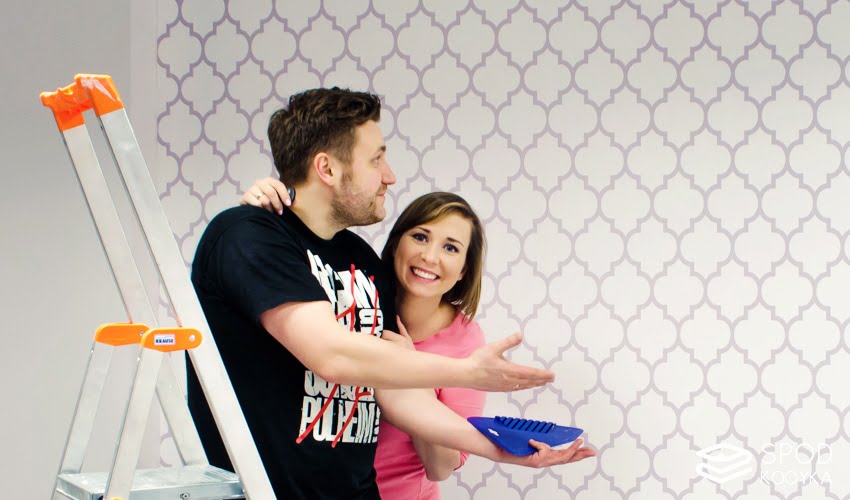
W zapomnienie odchodzą czasy, gdy tapetowało się całe mieszkania, w każdym pokoju każdą ścianę, każdy pokój innym wzorem… Jednak tapetowanie wraca do łask i bardzo często pojawia się w pomieszczeniach jako jeden wyraźny element, odmieniający całość, nadający mu charakteru. Na takie rozwiązanie zdecydowałam się postawić urządzając moje najnowsze biuro, które właśnie aranżuję, a Wam chcę pokazać, że tapetowanie wcale nie jest takie straszne. A efekt? Oceńcie sami!
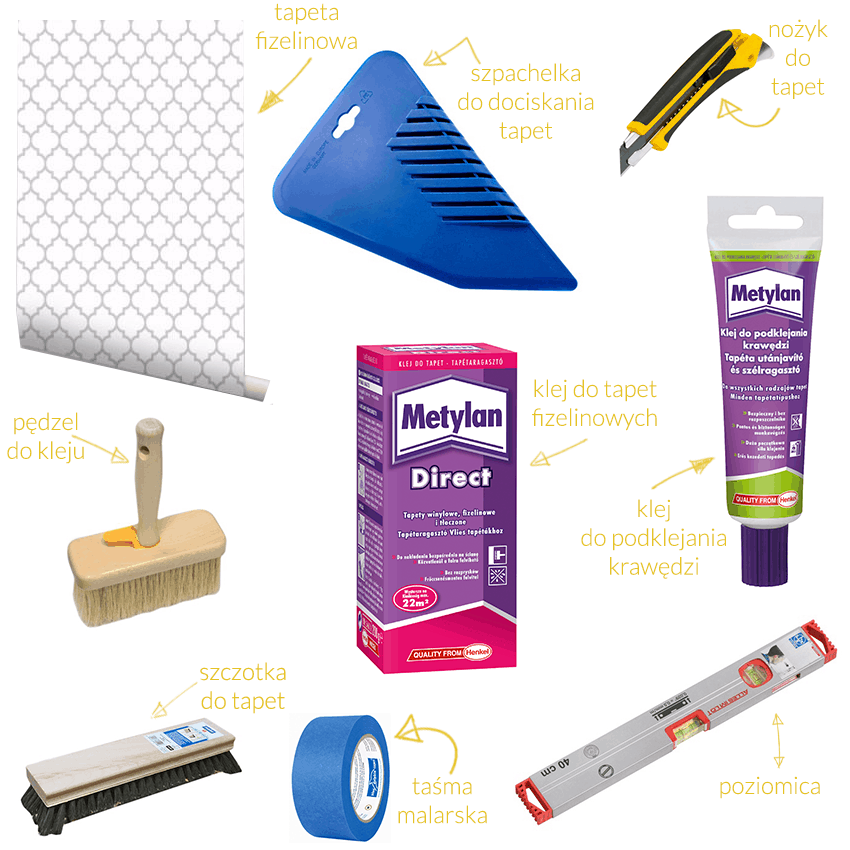
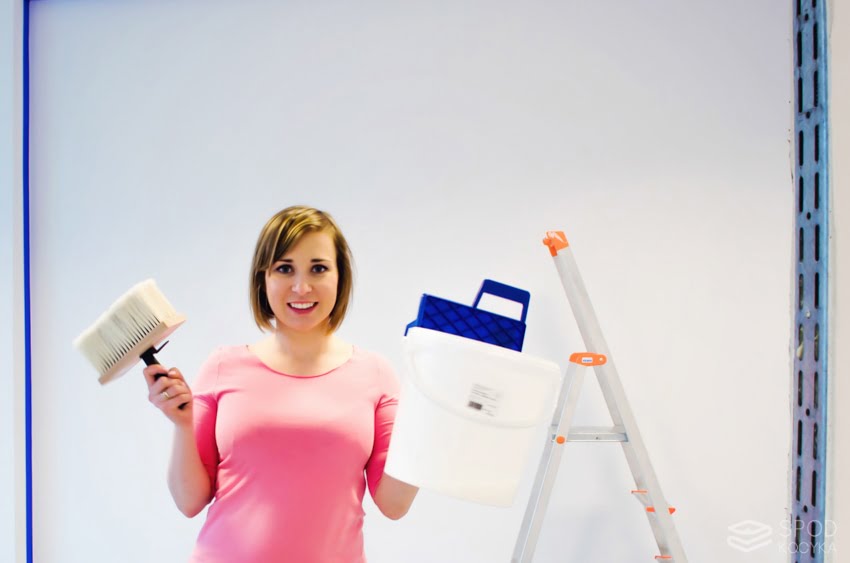
Tapetowanie – lista gadżetów, które bardzo ułatwią Ci pracę
Lista ta będzie się nieznacznie zmieniać w zależności od tego, jakiego rodzaju tapetę wykorzystasz. Ja zamówiłam tapetę fizelinową i taką polecam również Tobie – łatwo się kładzie, nie wymaga wcześniejszej impregnacji klejem tapety, namaczania, gdyż proces ten przeprowadza się na ścianie. Ale po kolei.
Tapetowanie krok po kroku
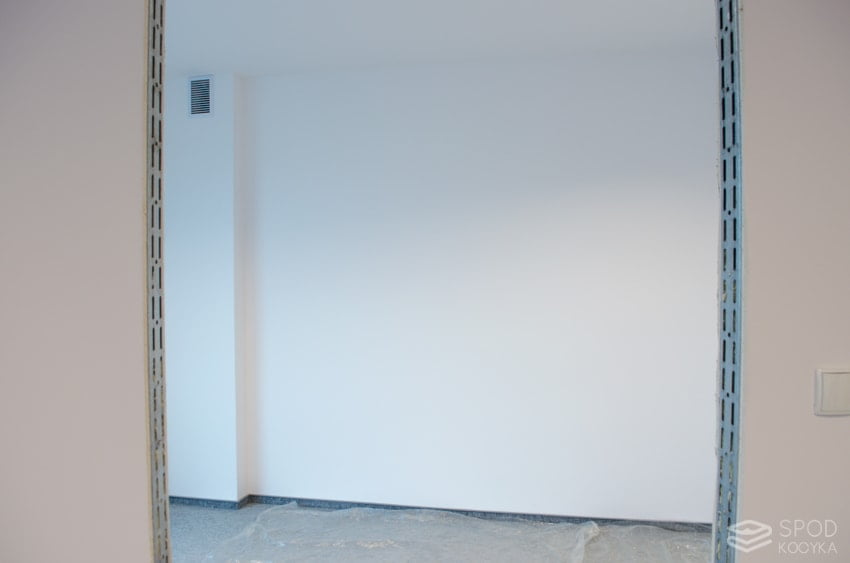
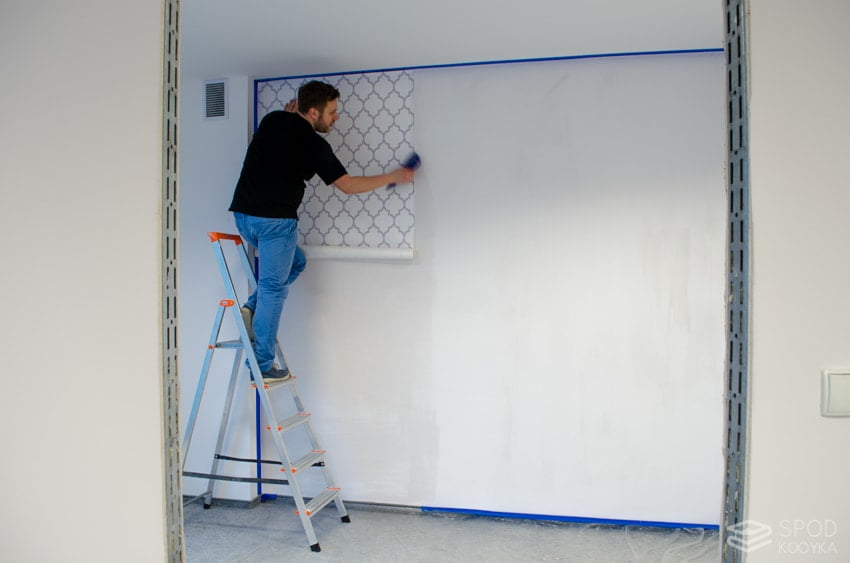
1. Przygotowanie ściany
Dobrze, aby ściana przed malowaniem była pomalowana – podobno wtedy klej ma lepszą przyczepność, ale wiele z Was doradzając mi na Facebooku twierdziło, że i bez tego tapety położone od razu na przykład na kartongips trzymają się idealnie. Ściana powinna być jednak maksymalnie gładka, aby nierówności nie odwzorowały się na tapecie:
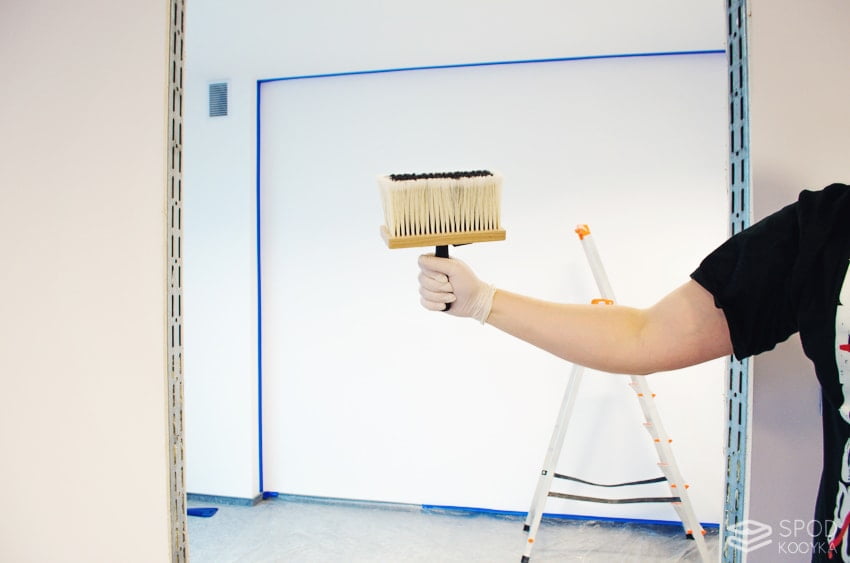
2. Zabezpieczenie ściany
Aby nie ubrudzić sąsiednich ścian zdecydowaliśmy się zabezpieczyć je taśmą malarską, a wykładzinę wyłożyć folią:

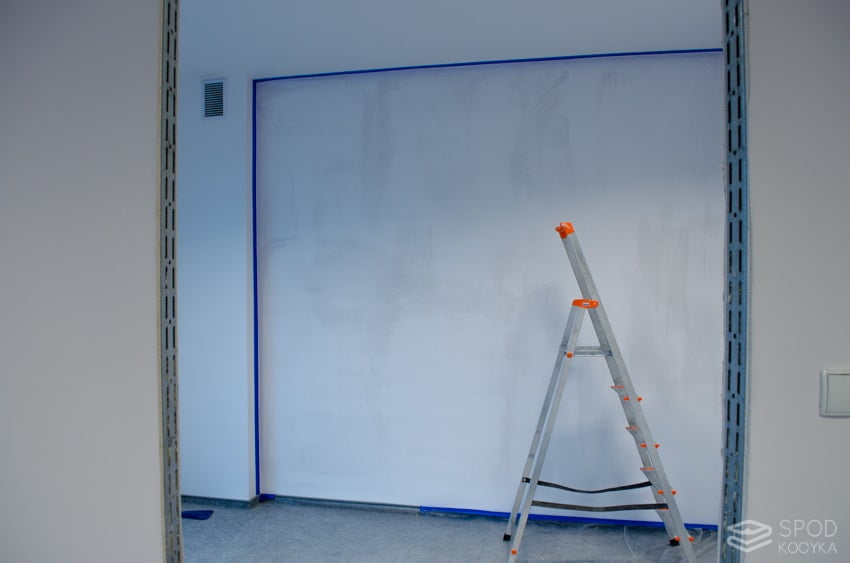
3. Gruntowanie ściany klejem
W przypadku tapet fizelinowych klejem pokrywamy tylko ścianę i tym samym gruntujemy klejem tylko ścianę (przy tapetach papierowych gruntujemy tapety). Zgodnie z informacjami podanymi na opakowaniu mieszamy klej z wodą w proporcjach odpowiednich do gruntowania i pędzlem nakładamy go na ścianę, pozostawiamy do przeschnięcia zgodnie z czasem podanym w instrukcji – różne produkty wymagają różnego czasu.
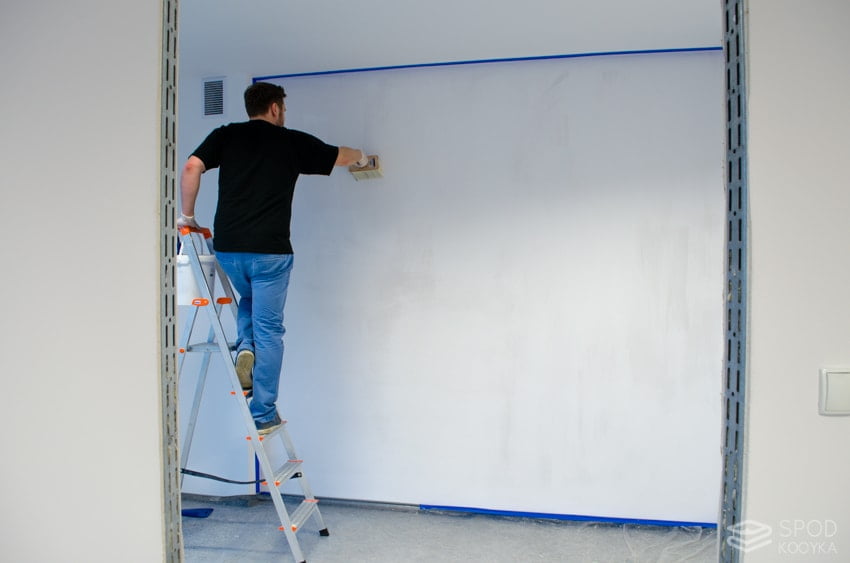
4. Nakładanie kleju na ścianę
Do klejenia tapet należy znów rozrobić klej – tym razem w proporcjach odpowiednich do klejenia. Przygotowujemy się do naklejenia na ścianę pierwszej tapety. Nasza tapeta miała 100cm szerokości więc na podobnej szerokości pas na ścianie nałożyliśmy warstwę kleju. Nie bójcie się nakładać kleju bardzo solidnie – jeśli nałożycie go za dużo, wypłynie z boku przy dociskaniu tapety nie pozostawiając żadnych uszkodzeń, jeśli natomiast nałożycie go za mało, powstaną Wam niedoklejone miejsca, brzuchy, albo tapeta spadnie – jak nam pierwszy pasek.
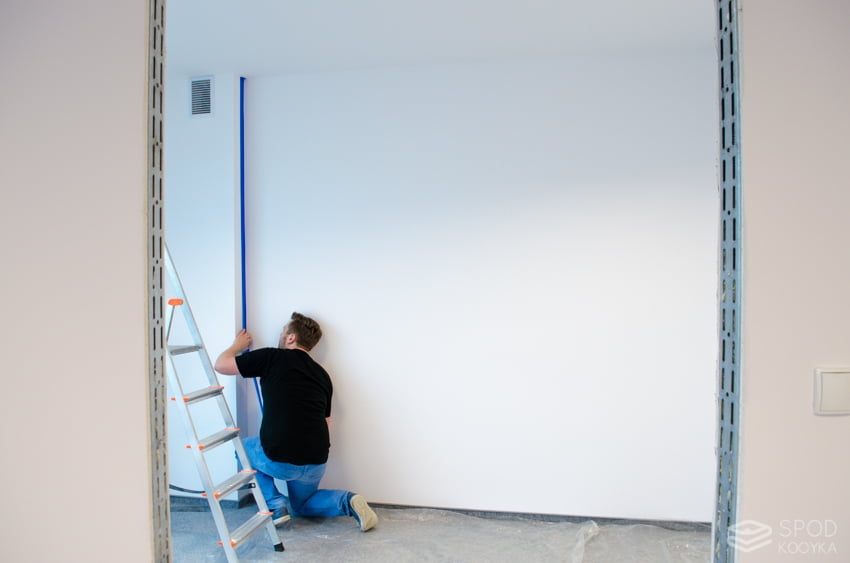
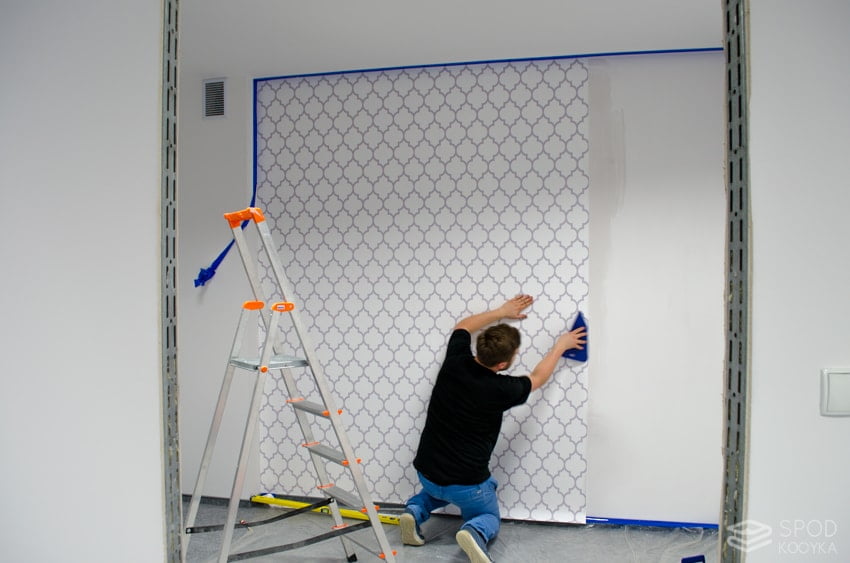
5. Naklejanie pierwszego paska tapety
Pierwszy pasek tapety dopasowujemy do sufitu oraz pionu, który określamy poziomnicą, pomocne może okazać się przyklejenie do ściany nitki, która będzie wyznaczała pion. My poradziliśmy sobie z samą poziomnicą.
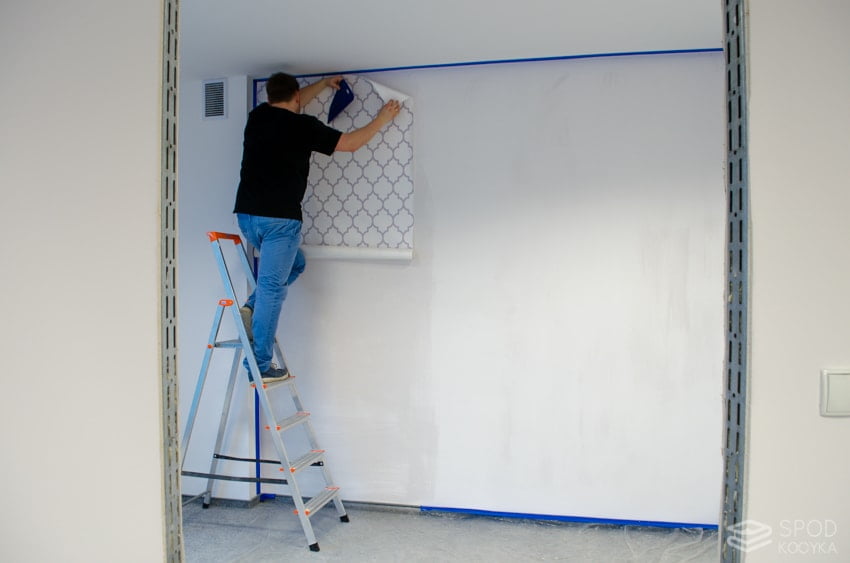
Jak już mówiłam – początkowo kleju nałożyliśmy za mało i po chwili musieliśmy zaczynać praktycznie od nowa:
Przyklejoną do ściany tapetę należy dociskać do ściany – można do tego celu użyć szczotki do tapet lub szpachelki do tapet – nam lepiej sprawdziła się szpachelka. Ważne, aby tapetę dociskać od środka na zewnątrz. I nie przejmować się klejem, który wypłynie spod tapety – wystarczy go zetrzeć ręcznikiem kuchennym lub gąbeczką.
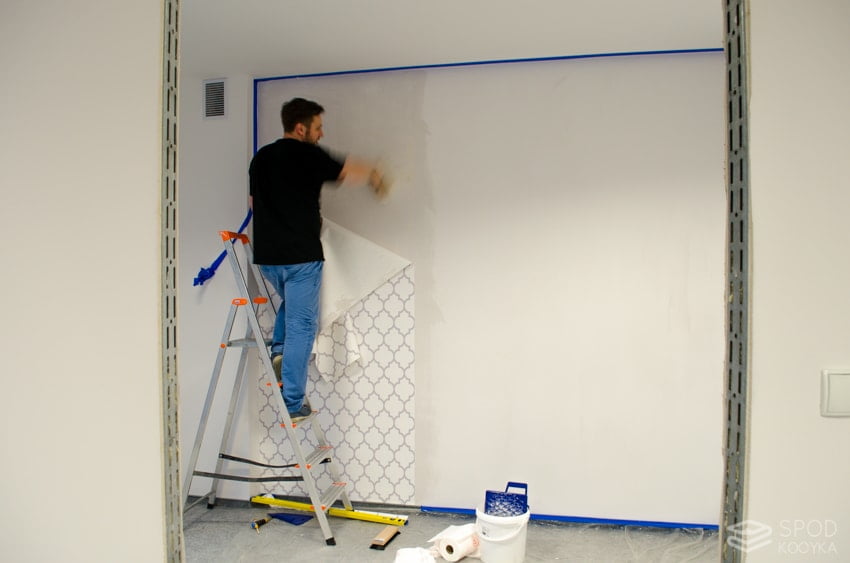
6. Naklejanie kolejnych tapet
Gdy pierwszą tapetę dopasowywaliśmy do sufitu i do pionu, to kolejne kawałki tapety na tej samej ścianie należy dopasować do sufitu i do wzoru na poprzednim kawałku tapety.
I tak aż do końca ściany. Jeśli Wasz sufit jest nierówny dobrze jest zostawić na górze tapety margines, a na koniec dociąć tapetę idealnie do sufity.

7. Docinanie tapet
Po przyklejeniu wszystkich rolek tapety na ścianę docięliśmy ją nożykiem idealnie do rogów ściany oraz do listwy podłogowej.
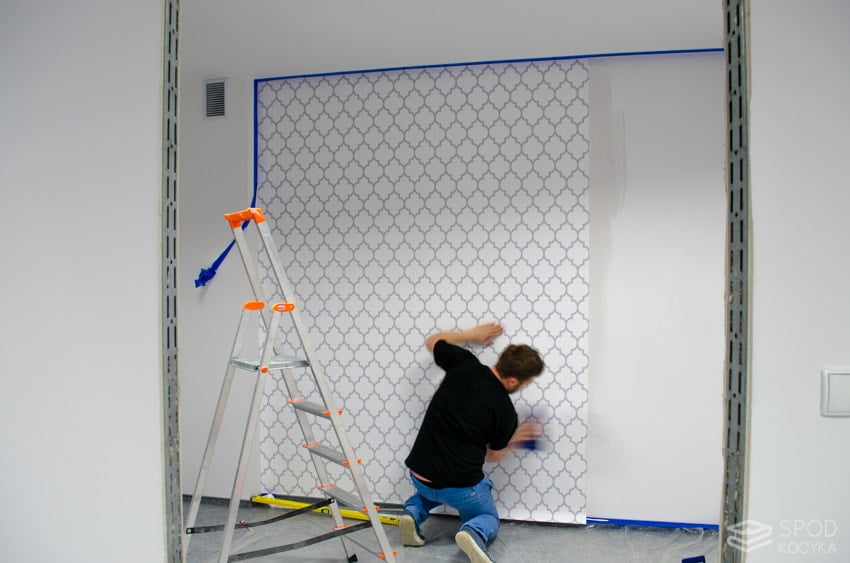
8. Podklejanie tapet
Wszystkie skrajne elementy tapety, które nie trzymały się idealnie dobrze jest podkleić specjalnym klejem do podklejania. Osobiście nakładałam go na palec i podklejałam rogi, a także cały górny i dolny rant tapety oraz większą część łączeń.
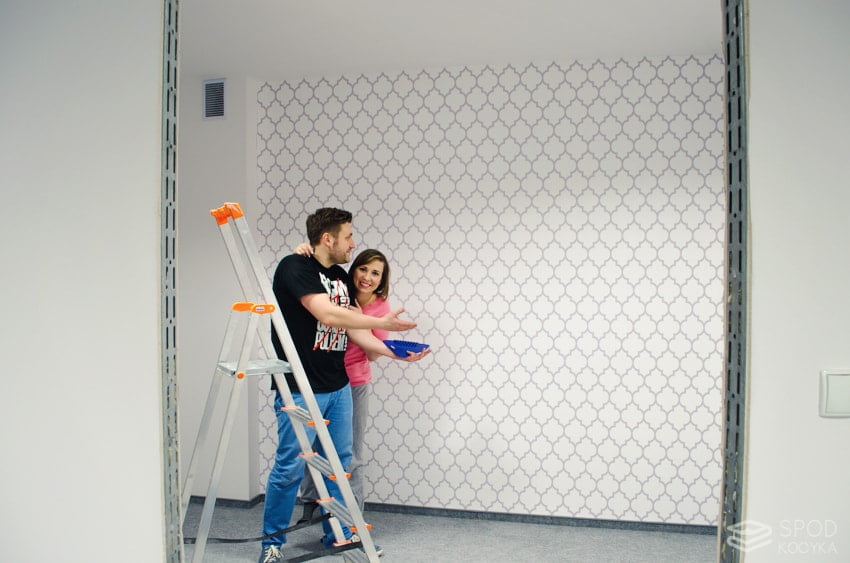
Voila! Gotowe!
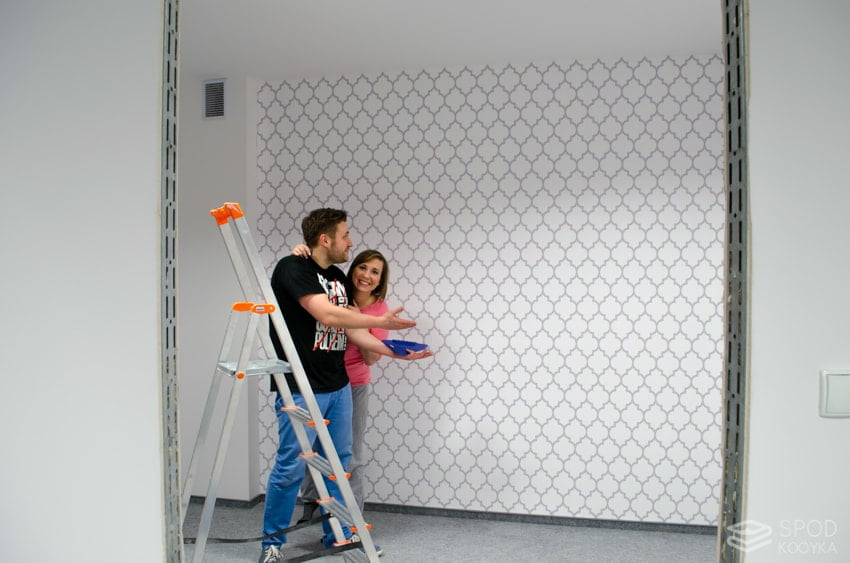
Nasza piękna ściana, która nada wyrazistego charakteru całemu pomieszczeniu już gotowa! Na drugi dzień wyglądała jeszcze ładniej, choć przyznaję, nie we wszystkich miejscach łączenia tapet są niewidoczne, w dwóch miejscach niestety efekt mógłby być odrobinę lepszy, ale pierwsze koty za płoty. Po obejrzeniu kilku odcinków „Usterki” na prawdę jestem zadowolona!
No i mam swoje cudowne tło do selfie 😉

Jak Wam się podoba taki sposób na odmianę wnętrza?
Czekam jeszcze na transport ostatnich zamówionych mebli i mam nadzieję, że w ten weekend zaczniemy się wprowadzać do nowego biura. Trzymajcie kciuki!
PS Jeśli podoba Ci się u mnie – bądź na bieżąco i koniecznie zaobserwuj mnie na Facebook’u oraz Instagramie
Ania ze SmakiMacierzynstwa.pl
Świetnie wyszło:) No i tło do selfie – pierwsza klasa! 🙂
Agnieszka
Dziękuję 🙂 tylko po przeprowadzce jestem taka wyczerpana, że nawet na selfie nie mam siły 😉
Matko Zabawko
Wyszło ładnie 🙂 Ale ja bałabym się tapetowania, właśnie ze względu na widoczne łączenia.
Agnieszka
Racja, ale mi jednak trudniej było zaufać „fachowcom” z ogłoszenia 😉 a nikogo poleconego nie znam.
Aktywne Mamy
Zapowiada się bardzo ładnie, a skąd tapeta?
Agnieszka
Bardzo dziękuję, tapeta ze sklepu xwall.