Decorations for All Saints – DIY or do it yourself
Today I will show you how to easily make beautiful and very personal grave decorations not only for the upcoming Day of the Dead.
I love to prepare decorations for my loved ones who are already on the other side of the road. For me, it is a very spiritual form of preparation for All Saints’ Day, which is always a strong inner experience for us. It is ideal then to occupy your hands with flowers, so that your thoughts will calmly drift towards those I miss – it is with them in mind that I lay and choose flowers.
Step 1. Choosing a theme
On the occasion of the All Saints’ Day, the graves of our relatives are often so full of lamps and flowers that when we come with our bouquets we have nowhere to put it. That is why I decided to prepare flower arrangements mounted on a suction cup to the vertical tombstone.
Step 2. Shopping
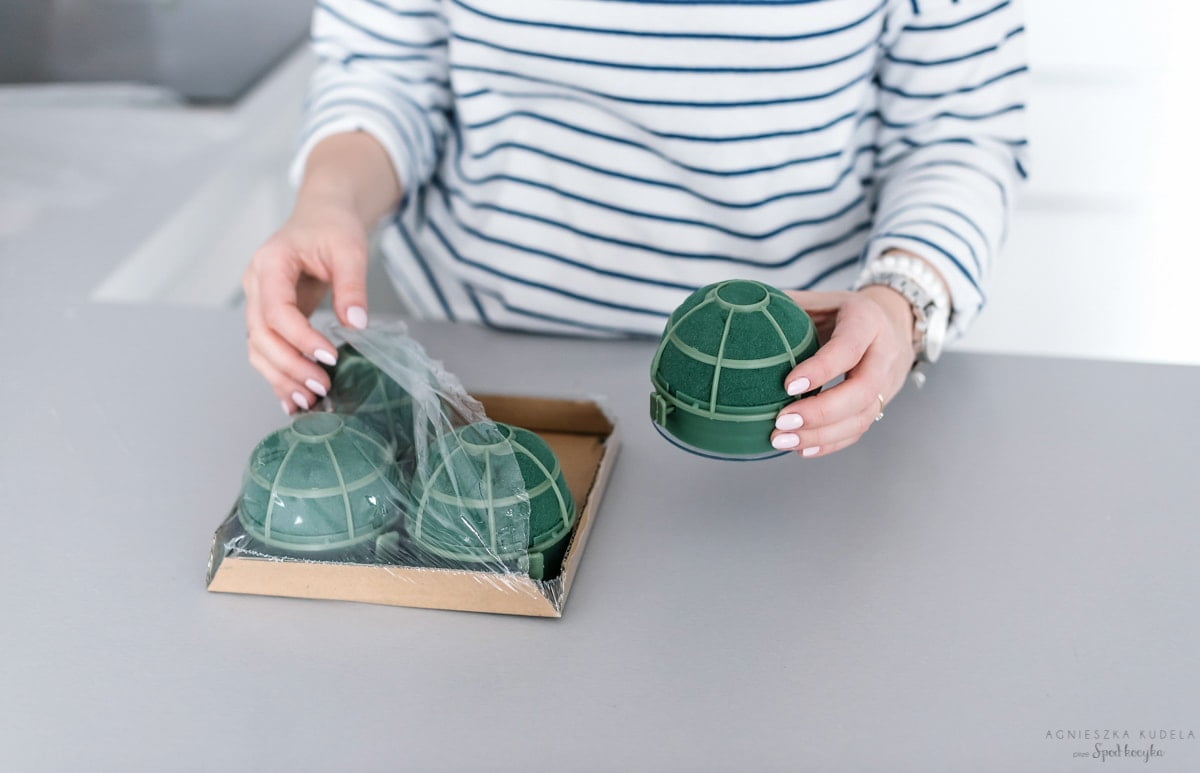
I decided to buy a system for mounting the so-called auto corso (their name probably comes from the fact that in wedding floristry the decorations are attached to the car in this way without damaging the paintwork, while ensuring permanent adhesion during the journey). This is not an ordinary sucker – it sucks up when you put it on a flat surface and draw plastic sticks – it can last for a year, and it allows us to only replace flowers with fresh ones. You can buy it online, at a flower shop or at a flower market.

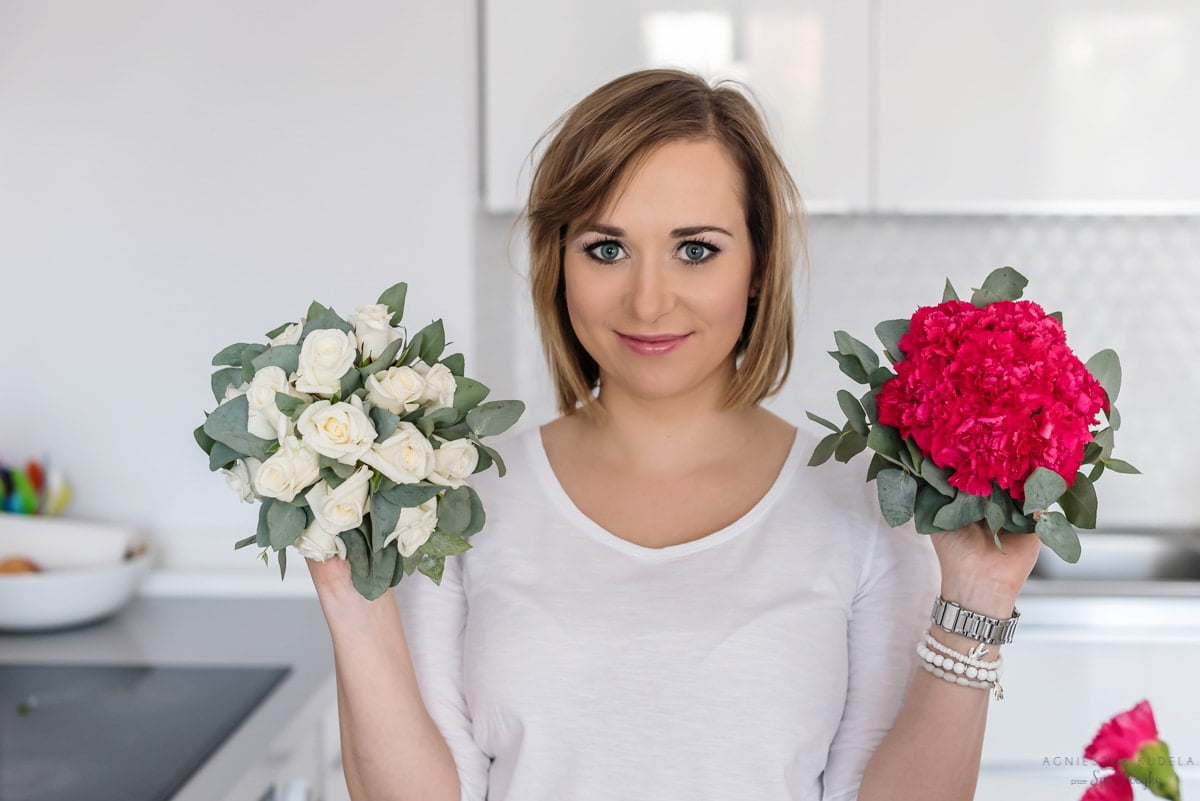
For flowers I chose white roses, dark pink carnations and eucalyptus as a filler.

3 step. To work!
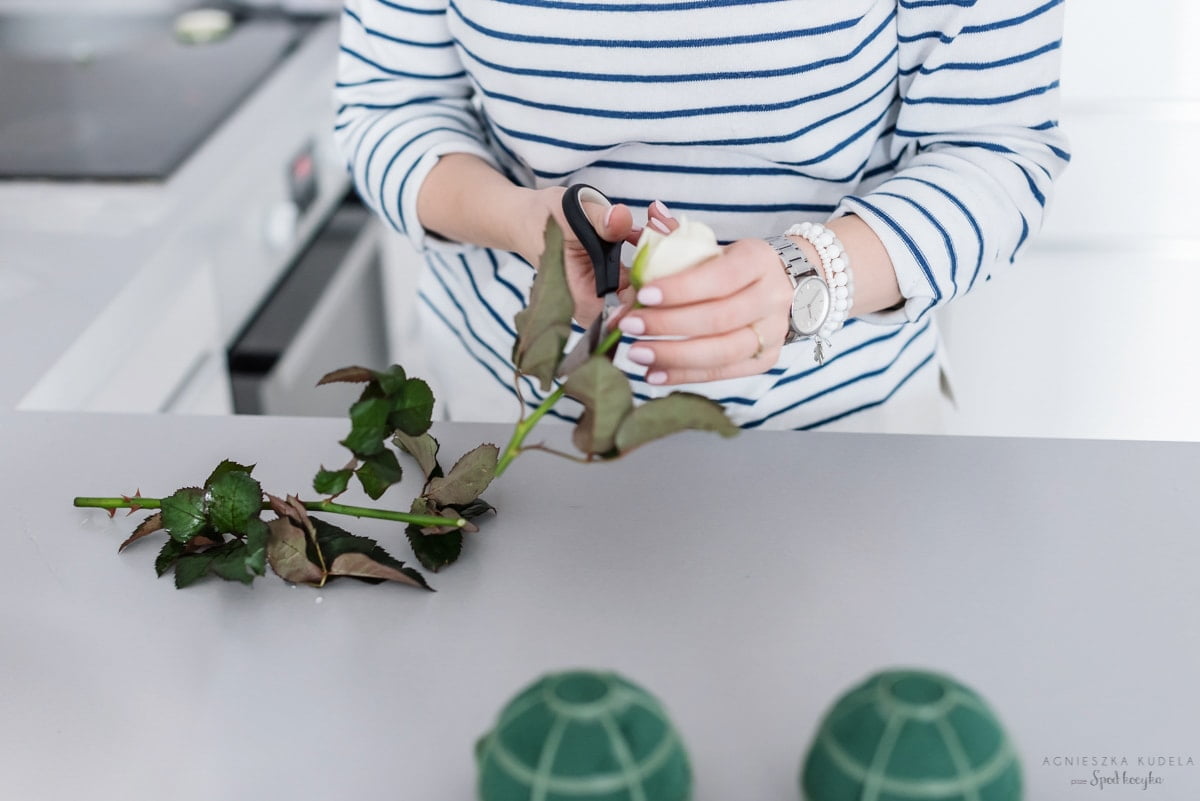
The flowers that we want to stick in the car corso, that is, in fact, in a floristic sponge reinforced with a plastic frame, must be cut really short. How much? It depends on the size of the car corso you choose.
A properly cut flower is simply pressed into the floristic sponge – personally, I always start from the very center, and then I attach successive rows of flowers.

Once all the roses were in place, I supplemented them with eucalyptus leaves – of course also properly cut. And ready!

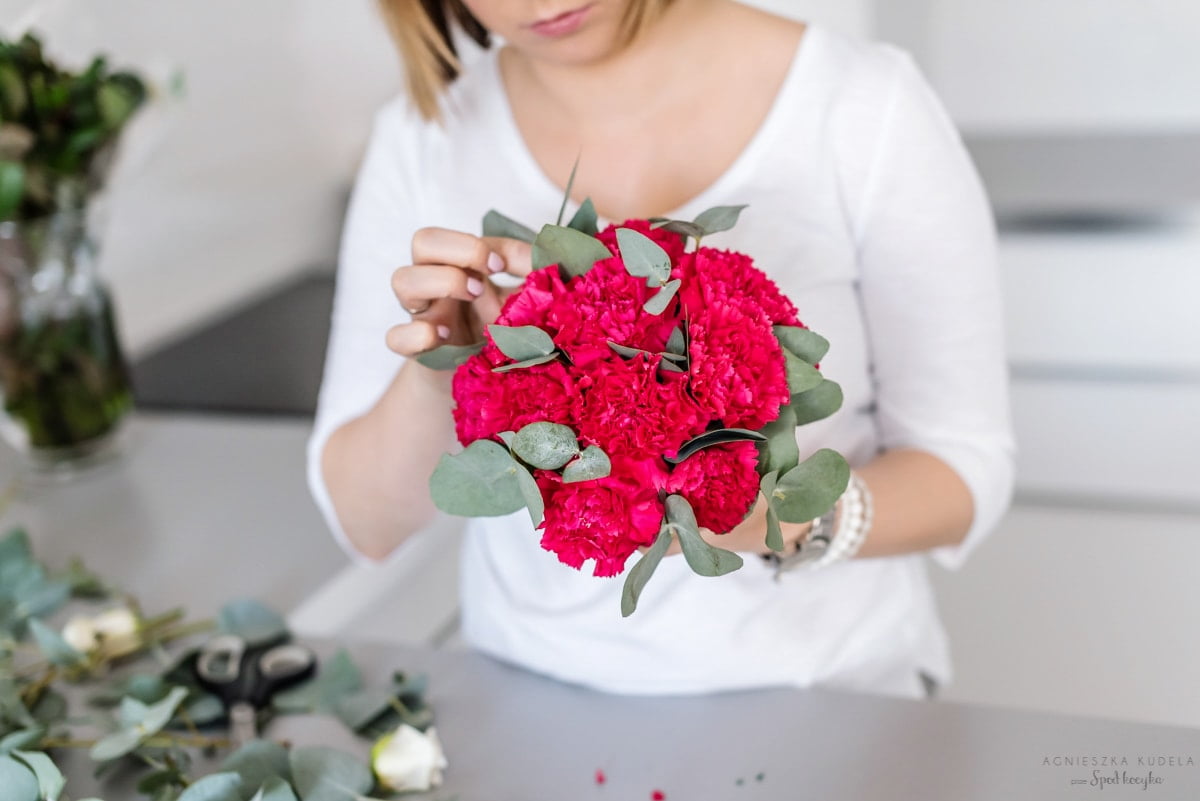
For the second composition I decided to use carnations in an intense color. I started again by cutting the flowers to the right length.

Here also I started to create compositions from the inside.
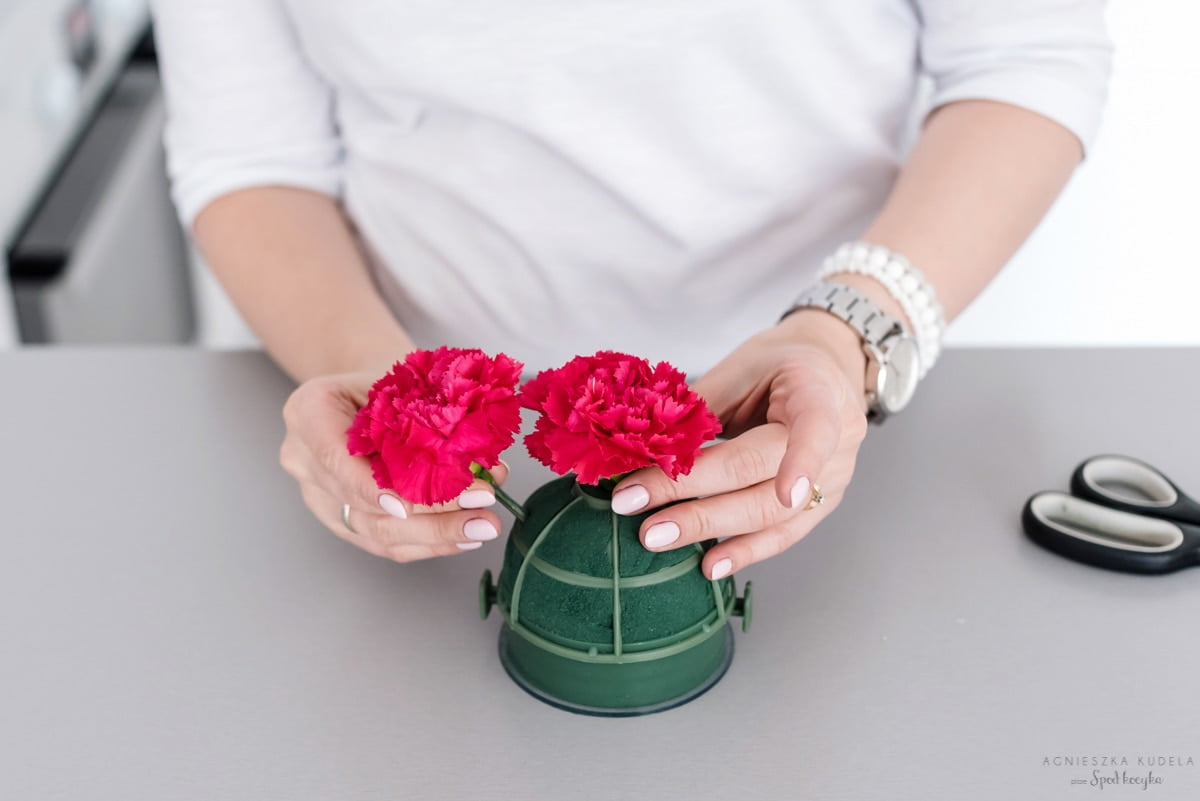
When I work with cloves that are not yet fully developed (and I always try to choose such ones), I always open their petals in my hands to check what surface they will occupy in the composition when they are fully developed – so that they are not arranged or too tight, nor too loose.

In this composition, I made the entire third (from the top) layer of flowers from eucalyptus leaves to create a beautiful background for carnations.

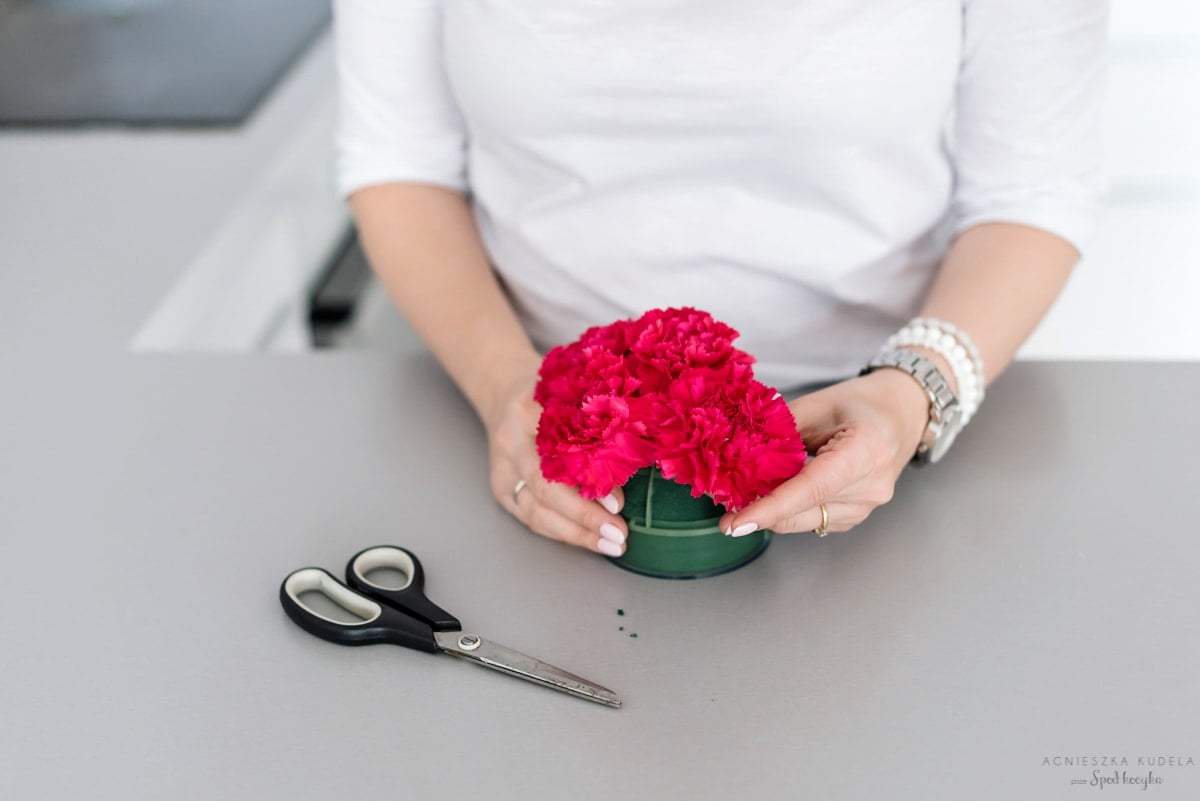
To the third composition I also used pink carnations, but decided to introduce some slack into it, so this time I stuck eucalyptus branches between three rows of loosely arranged carnations.
And it’s ready!
Now it is enough to soak the sponges in water so that they are soaked with water and they are ready to be taken to the graves of our loved ones.

On this occasion, I would like to wish you peaceful, family-oriented, full of reflection and time for the next days of All Saints.

